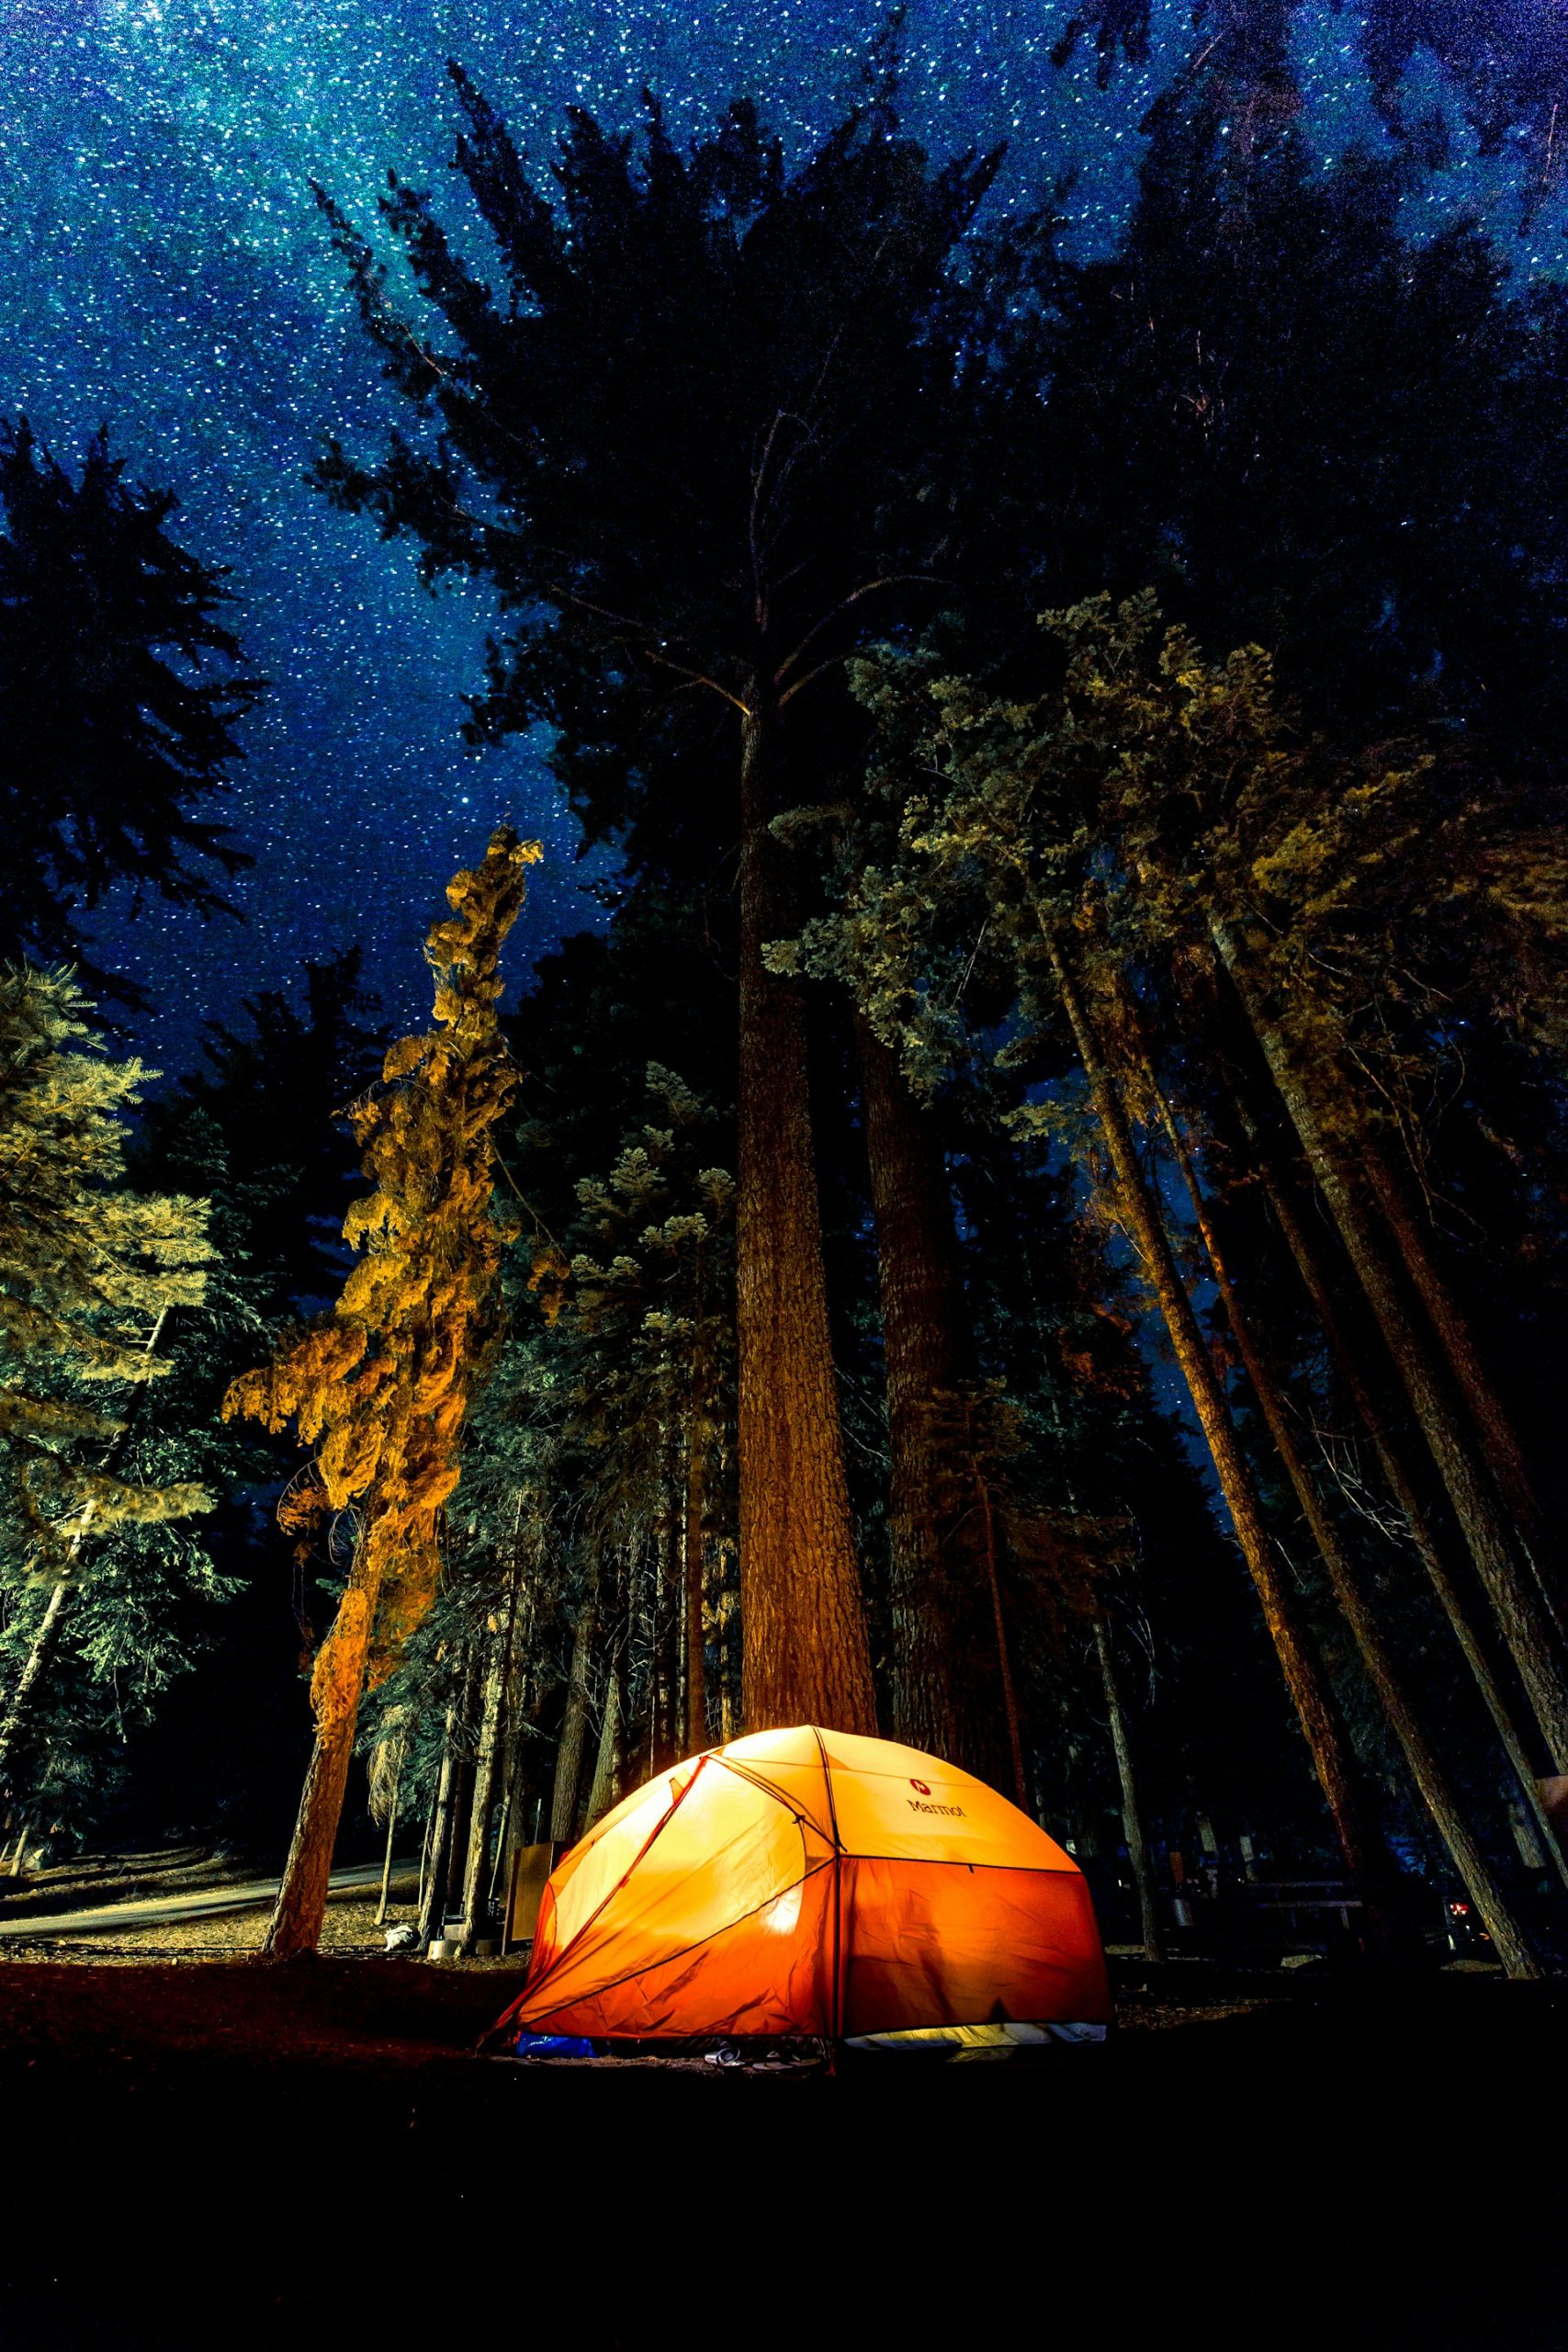
Bikepacking, the joyful confluence of cycling and camping, has gradually emerged as a popular method of exploring nature for thousands of adventure enthusiasts. Picture this: cruising along winding trails with all your camping gear on your bike, stopping to set up camp at gorgeous scenic spots, and waking up to the pleasant chirping of birds each morning. Sounds exciting? That’s bikepacking for you; an enthralling journey that presents you with countless opportunities to connect with nature and explore the great outdoors on two wheels.
But as any experienced bikepacker would affirm, a memorable bikepacking trip doesn’t just happen; it requires careful planning, a suitable route, the right gear, and a beefy dose of patience and enthusiasm. Let’s break down each of these components to help you get started with your very first bikepacking adventure.
Choosing the Right Route
Every successful bikepacking trip begins with selecting an appropriate route. After all, a suitable trail would not only dial up your enthusiasm but also ensure that you aren’t caught off-guard with sudden, unexpected roadblocks or steep ascents. For beginners, especially, it is advisable to kick off their bikepacking journey with an overnight trip on familiar trails.
An ideal bikepacking route should have a comfortable balance of many factors, such as water availability, cell phone service, logistical ease, and terrain. As you gain more experience and confidence, you can further challenge yourself by opting for longer and more complex routes. So, keep those spirits high, the wheels spinning, and who knows, you might be blazing down the Tour Divide or the Colorado Trail before you know it!
Bikepacking isn’t just about cycling, it’s about understanding your gear, route selection, and embracing the journey.
Gearing Up for the Adventure
After choosing the route, gearing up is the next crucial step. Your bike, needless to say, is your most important piece of gear. It doesn’t have to be shiny, new, or expensive; it just needs to be well-serviced and reliable. If you’re a beginner just dipping your toes into the thrill of bikepacking, it’s recommended to first understand the type of bikepacking that interests you before investing in an anthill-magnet bike.
In addition to your bike, you also need some essential tools and spare parts to ensure a smooth, hassle-free journey. These include a multitool, master chain links, valve cores, a hand pump, a tubeless tire kit, duct tape, a spare tube, tire levers, and zip ties. Familiarize yourself with these tools, so that a punctured tire or a loose chain doesn’t bring your journey to a halt. Lastly, learning how to pack your bike is vital as it can help balance the weight and ensure easy access to handy items like snacks or a multitool.
Your bikepacking route doesn’t just shape your trip, it defines your experience.
Planning Your Bikepacking Trip
Want an unforgettable bikepacking trip? Plan! Plan! Plan! A successful bikepacking adventure needs careful planning, an understanding of your interests, and a fine-tuned balance between time and budget. Whether you desire to meander along footpaths in quaint foreign lands or stick to local forest service roads, planning well can make all the difference.
An integral aspect of bikepacking planning involves knowing where you will sleep each night. This means keeping a lookout for public lands, camping grounds, or campsites marked on maps along your chosen route. It’s also important to keep a close tab on water sources along the route – water is crucial, especially for multiday trips in hot and dry conditions. Use maps that show water sources to plan your route wisely.
For emergency situations, always keep handy the contact information of local rescue organizations. Also, blood is thicker than water, but first aid knowledge and a well-stocked first aid kit are thicker than emergencies.
Proper planning can turn a potentially chaotic bikepacking trip into a serene journey through nature.
Camping Essentials for Bikepacking
Excellent! You’ve planned your trip and packed your bike; it’s now time to delve into the camping aspect of bikepacking. Your camping essentials will typically fall under four categories: shelter and sleeping, food and water, bike repair and spares, and the packing bag with its contents.
Your shelter could be anything from an ultralight tent to a hammock or tarp, based on your personal comfort preferences, potential weather scenarios, and environmental conditions like critter presence. Similarly, your sleeping system could be a sleeping bag or a quilt, complemented by padding. Carrying 2-6 liters of water storage and enough food for 2-4 days is usually a good ballpark figure for the bikepacker’s kitchen needs.
Your bike repair tools and spare essentials remain the same during the camping aspect of your bikepacking trip. Remember, be like a Scout; always prepared. And finally, when packing, always store the heavier items at the bottom of the frame bag for balanced weight distribution.
There you have it, newbie nature lover. This is your starter guide to bikepacking – from trail selection to gear requirements, from planning the journey to mastering the art of camping. With these essentials by your side, get ready to hit the open road, feel the wind in your hair, and experience the joyous crossing of boundaries between the world of cycling and camping. Remember, the journey is as important as the destination, and with bikepacking, the journey is an adventure you’ll never forget.


